When I learned I was pregnant with my first baby, I was back at my town helping out in the pharmacy. This was where I spent almost 12 years of my life, working as a pharmacist and managing a family business before I god married and moved to the city. I always knew it was not where I could regularly spend my time for my real passion, which is arts and crafts. But later on, I got hooked on the business side. I got addicted in regularly furnishing the stocks that I no longer had much time for my hobbies.
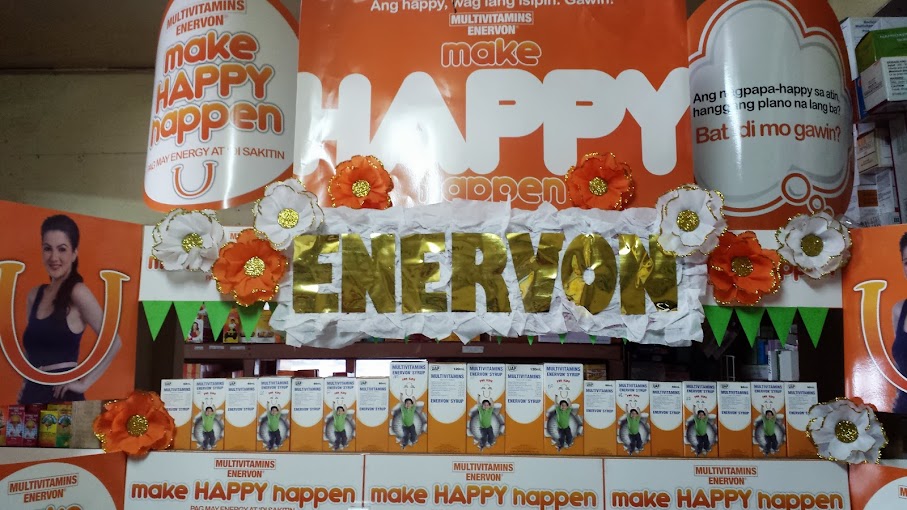
While vacationing, one of our suppliers (UNILAB Pharmaceuticals) had us join a display competition where we were asked to decorate an area of the store, featuring their product. This time, they wanted us to dress up the Enervon Multivitamins shelf. It has the characteristic orange theme and so I thought of making orange paper flowers to accent our shelves. I was suddenly inspired to do some crafting after a long time.
I looked around and saw this easy tutorial in Under a Blue Moon. It was in a cute pale pink color with a gorgeous button for a center.
Mine looks like this..

The items I used for this flower were:
- crepe paper
- glitters
- glue
- scissors
- card board or any kind of card stock
First, I cut the petals. They’re about 2 inches long and 2.5 inches wide. They were heart-shaped, except that it has a flat bottom.

Next, I carefully outlined the upper tips with glue.

I then touched the tips of the paper to some glitters, making sure I covered the glued part very well.

It would look like this.

I made at least eight of these petals to complete one flower.

I cut a small circle from a card board to be used as the base. I then glue the end of the petals by first putting glue on the area of the circle where I want the petals to be. I crimp the bottom of the petals, then carefully press it on the cardboard.

All eight petals will be glued to the cardboard. First, two of the petals will be glued opposite each other.

The next two petals will then be placed on the spaces between the first two petals.

I do the same alternate positions with the remaining four petals. But I forgot to take a picture of that. Sorry..I made a smaller circle from card board and dressed that up with the same glitters and placed this circle at the center of the petals. And that’s it.

There are three things I love about this paper flower. One is that it has a lot of volume even though there is no shaping or stretching done to the paper. It is also very light in weight so it can be attached to walls easily without worrying about gravity that could cause it to drop. Lastly, you don’t have to be very skilled in creating it, unlike some paper flowers where hand dexterity is needed.
We didn’t win in the competition but still, it was a great time spent on crafting.